In today’s sit-heavy world, our hips are taking the brunt of our modern lifestyle. Whether it’s long commutes, hours at a desk, or binging shows on the couch, all that sedentary time tightens the hip flexors, glutes, and inner thighs. And tight hips? They’re not just uncomfortable they’re sneaky culprits behind back pain, posture problems, and restricted mobility.
The good news: You don’t need intense workouts or painful stretches to fix it. A handful of well-chosen yoga poses, done gently and consistently, can work wonders for unlocking stiff hips and restoring smooth, pain-free movement.
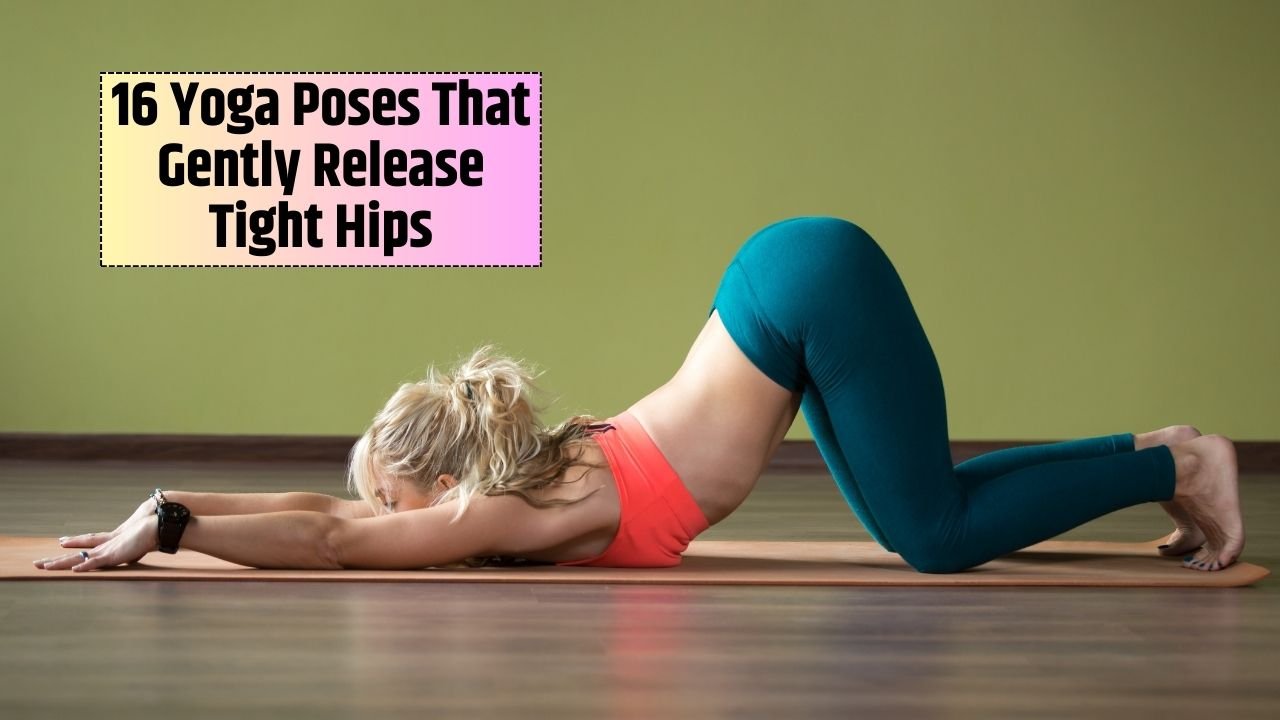
Let’s break down the 16 most effective yoga poses for hip release — from beginner-friendly stretches to deeper, meditative openers and how to use them to your advantage.
1. Butterfly Pose (Baddha Konasana)
Why it helps:
Targets the inner thighs and groin, helping release deep tension from sitting or standing all day.
How to do it:
Sit with soles of the feet together, knees dropping outward. Hold your feet and sit tall. Gently pulse or stay still, letting the hips soften.
Pro tip: Sit on a folded blanket if your hips are tight — it helps keep the spine upright and reduces strain.
2. Low Lunge (Anjaneyasana)
Why it helps:
This is the stretch for hip flexors, especially if your day involves a lot of sitting.
How to do it:
From a lunge, lower the back knee to the mat. Sink into the front leg while lifting your chest. Arms can reach up or rest on the thigh.
Modification: Place a cushion under the back knee for support.
3. Pigeon Pose (Eka Pada Rajakapotasana)
Why it helps:
Deep outer hip and glute release — especially helpful if you feel tension in your low back or IT band.
How to do it:
From Downward Dog, bring one knee forward, foot angled across the mat. Stretch the back leg out. Fold forward or stay upright.
Tip: Use a block under the front hip if you can’t square off — never force this one.
4. Garland Pose (Malasana)
Why it helps:
Yogic squat that opens hips and builds strength. Also great for ankles and low back release.
How to do it:
Squat down with feet slightly turned out. Bring hands to heart and elbows inside knees, gently pressing them outward.
Pro tip: If your heels lift, place a rolled blanket under them for support.
5. Happy Baby Pose (Ananda Balasana)
Why it helps:
Releases tension in the hips and low back in a non-weight-bearing position. Great before bed.
How to do it:
Lie on your back. Bend knees and grab the outsides of your feet. Gently pull the knees toward the floor beside your ribs.
Breathe here: At least 5 deep breaths — the longer you stay, the more your hips melt.
6. Supine Spinal Twist (Supta Matsyendrasana)
Why it helps:
Targets the outer hips and lumbar spine. A gentle way to unwind the body and improve spinal mobility.
How to do it:
Lie on your back, hug one knee in, and guide it across your body. Keep both shoulders grounded. Repeat on the other side.
Great for: Releasing hip tightness and tension from the lower back.
7. Cow Face Pose (Gomukhasana – Legs Only)
Why it helps:
Works the outer hips, glutes, and piriformis. Particularly helpful for imbalances between left and right hips.
How to do it:
Sit with one knee stacked directly on top of the other. Feet come out to the sides. Sit tall or fold forward.
Tip: Can be intense use a block or cushion under your hips if stacking is too much.
8. Wide-Legged Forward Fold (Prasarita Padottanasana)
Why it helps:
Opens the inner thighs and hamstrings while calming the mind.
How to do it:
Stand wide-legged. Hinge at the hips to fold forward. Hands rest on the floor or on a block.
Breathe into the stretch: Let gravity do the work.
9. Lizard Pose (Utthan Pristhasana)
Why it helps:
Targets the hip flexors, groin, and hamstrings. Excellent for runners and cyclists.
How to do it:
From Low Lunge, bring both hands inside the front foot. You can lower your forearms or keep palms down.
Mod it: Use blocks or stay on hands to reduce pressure.
10. Frog Pose (Bhekasana variation)
Why it helps:
One of the deepest hip openers in yoga — it goes right into the inner thighs and groin.
How to do it:
Start on hands and knees, then slide your knees apart as far as comfortable, with shins parallel. Lower to forearms or chest.
Be patient: This one takes time — stay with the breath and use blankets under knees for support.
11. Malasana (Yogic Squat)
Why it helps:
Yes, it’s listed twice — because it works. Practicing regularly helps reset tight hips and encourages natural hip movement.
How to do it:
Same as Garland Pose above. Stay here for 1–2 minutes, breathing deeply.
12. Fire Log Pose (Agnistambhasana)
Why it helps:
Deep outer hip stretch. Especially effective if Pigeon Pose is too intense.
How to do it:
Sit with one shin stacked over the other like two logs. Feet flexed. Fold forward slowly if comfortable.
Tip: Use cushions under knees if there’s strain or discomfort.
13. Seated Forward Fold (Paschimottanasana)
Why it helps:
While it primarily stretches the hamstrings, it also supports gentle hip release — especially when held for longer periods.
How to do it:
Sit tall, legs extended. Inhale to lengthen, exhale to fold forward. Keep knees slightly bent if needed.
14. Bridge Pose (Setu Bandhasana)
Why it helps:
Opens the front of the hips and strengthens glutes — great combo for balancing tightness and weakness.
How to do it:
Lie on your back, bend your knees, feet hip-width apart. Press into your feet to lift your hips.
Bonus: Also supports spine and helps decompress after a long day of sitting.
15. Child’s Pose (Balasana)
Why it helps:
Gentle release for hips and spine. Encourages the hips to open without any pressure or force.
How to do it:
Kneel, bring big toes together, knees wide. Fold forward, resting forehead on the mat.
Perfect for: Starting or ending your practice.
16. Reclined Bound Angle Pose (Supta Baddha Konasana)
Why it helps:
Passive stretch for inner thighs and hips. Deeply calming and restorative.
How to do it:
Lie on your back with soles of the feet together. Let knees fall open. Place cushions under each knee for support.
Stay here: 3–5 minutes (or longer — it’s that good).
Best Practices for Loosening Tight Hips with Yoga
| Tip | Why It Matters |
|---|---|
| Practice daily (even 10–15 min) | Consistency beats intensity for flexibility gains |
| Breathe deeply into each pose | Helps muscles release tension more effectively |
| Use props generously | Cushions, blocks, and straps make poses more accessible |
| Don’t force deep stretches | Pushing too hard can cause injury — ease is key |
| Warm up first | Try Cat-Cow or gentle movement to prepare the hips |
| Listen to your body | Every hip is different — honor where you are today |
Gentle Progress = Long-Term Freedom
Tight hips didn’t happen overnight and they won’t loosen overnight either. But with consistent, mindful yoga practice, you’ll start to notice shifts: better posture, less back discomfort, easier movement. You might even feel lighter emotionally hips are known to store stress and tension.
Start with a few poses each day. Rotate through the list. Listen to what your body needs. And over time, your hips will soften and so will your day-to-day tension.
FAQs
Aim for at least 3–5 times per week, even if it’s just 10–15 minutes per session. Daily practice is ideal for faster results.
Yes. Gentle, consistent stretching improves muscle length, joint mobility, and circulation all of which reduce stiffness.
Modify it with props or skip it. Yoga should never cause sharp pain. Discomfort is okay — pain is not.
Absolutely. Many can be modified with blocks, cushions, or done against a wall for support.
Start with 30 seconds to 1 minute per side. For passive poses like Frog or Reclined Bound Angle, you can hold up to 5 minutes.
