Nerve pain in the lower back hits differently. It’s not just a dull ache it can shoot, burn, tingle, or radiate down your legs. Whether it’s sciatica, a slipped disc, or plain old muscle tension compressing a nerve, one thing’s certain: it disrupts your life. But before you reach for another painkiller or spend hundreds on PT, consider this a 12-minute yoga routine could be the game-changing relief your back’s been begging for.
Yoga won’t just stretch you out—it targets the root causes of nerve pain by improving spinal alignment, decompressing nerves, and releasing tight muscles in your hips, hamstrings, and lower back. And unlike high-impact workouts, this is low and slow—built to calm your nervous system, not aggravate it.
Here’s your step-by-step guide to using yoga to relieve lower back nerve pain—naturally, effectively, and in under 15 minutes a day.
How Yoga Relieves Lower Back Nerve Pain
Nerve pain often starts with compression—tight muscles, inflamed joints, or disc pressure pressing on the nerves that run from your lower spine down through your legs (yep, that’s why you feel pain all the way to your toes).
Yoga works by:
- Stretching tight muscles (especially in the hips, glutes, hamstrings)
- Improving spinal mobility and alignment
- Stimulating circulation to inflamed areas
- Activating the parasympathetic nervous system which helps dial down pain signals
Bonus: Regular practice also improves core strength and posture, reducing the risk of future flare-ups.
The 12-Minute Yoga Routine for Lower Back Nerve Pain
This is your daily go-to: five carefully selected yoga poses, held with breath and intention, to relieve pain and restore mobility.
1. Child’s Pose (Balasana)
A gentle reset for the spine and nervous system
This pose gently decompresses the lower spine, stretches the back and hips, and signals your body to relax.

How to do it:
- Start on hands and knees.
- Bring your big toes together, knees wide.
- Sit your hips back onto your heels and stretch your arms forward.
- Rest your forehead on the mat and breathe.
Hold: 1 minute
Focus: Deep belly breathing into your lower back.
Why it helps: Relieves spinal compression and relaxes irritated nerves.
2. Cat-Cow Pose (Marjaryasana-Bitilasana)
Move the spine, calm the nerves
This dynamic flow improves spinal mobility and helps “wake up” stiff vertebrae that might be compressing nerves.
How to do it:
- Start in tabletop (hands under shoulders, knees under hips).
- Inhale: Arch your back (Cow Pose), lift your tailbone and chest.
- Exhale: Round your spine (Cat Pose), tuck your chin and draw your belly in.
Repeat: Slow, controlled movement for 2 minutes.
Why it helps: Releases tension in the lumbar spine and strengthens the spinal support muscles.

3. Downward-Facing Dog (Adho Mukha Svanasana)
Lengthen your spine, decompress your nerves
This classic pose stretches the entire posterior chain hamstrings, calves, back while creating space in the spine.
How to do it:
- From tabletop, tuck your toes and lift your hips up and back.
- Straighten your legs as much as comfortable, aiming for an inverted “V.”
- Press your heels toward the mat (even if they don’t touch).
- Relax your head between your arms.
Hold: 30 seconds to 1 minute
Why it helps: Reduces nerve pressure from tight hamstrings and opens space between vertebrae.
4. Seated Forward Fold (Paschimottanasana)
Stretch the legs, relieve the back
Tight hamstrings = pulled pelvis = stressed lower back. This pose targets one of the biggest culprits in nerve-related lower back pain.
How to do it:

- Sit with legs extended forward.
- Inhale to lengthen your spine.
- Exhale and fold forward from the hips (not the waist).
- Reach for your feet or shins. Keep a slight bend in the knees if needed.
Hold: 1–2 minutes, breathing slowly.
Why it helps: Stretches the hamstrings and spine to release tension pulling on the lower back.
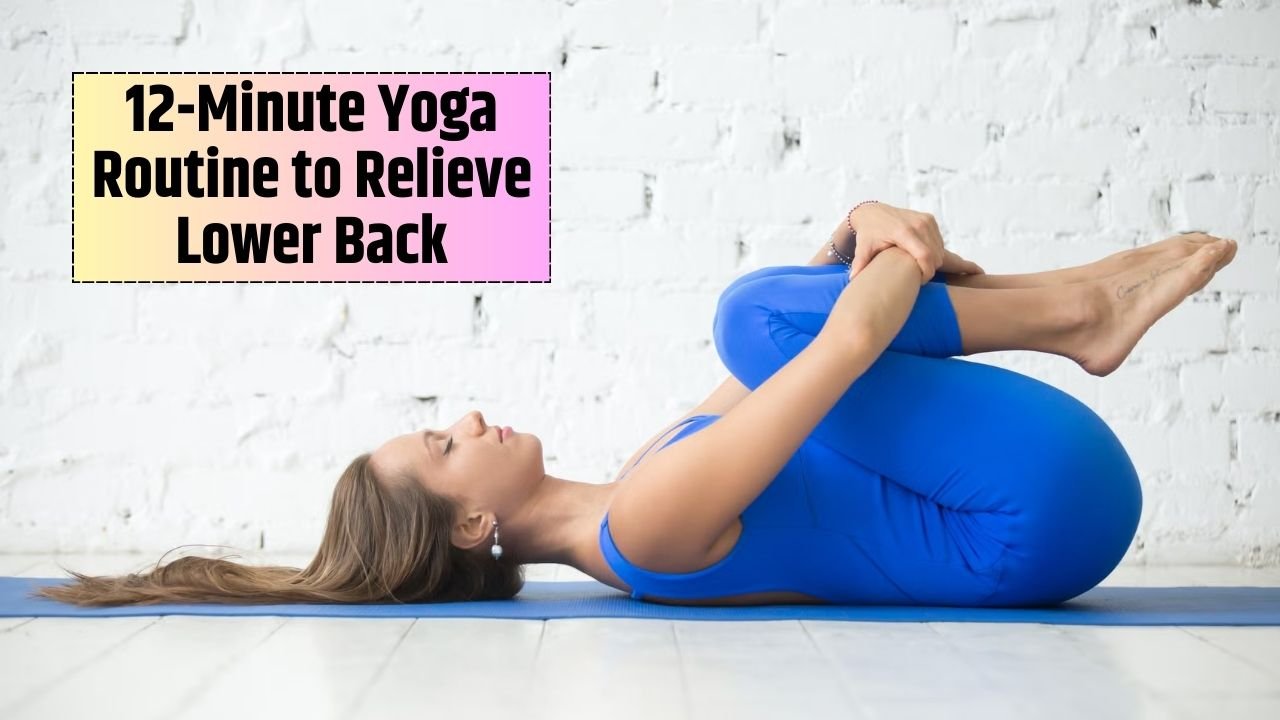
5. Knee-to-Chest Pose (Apanasana)
Your go-to for instant lower back relief
This pose soothes the lower back by relaxing the hips and gently stretching the lumbar spine. It’s one of the safest and most effective postures for nerve pain.
How to do it:
- Lie on your back with knees bent.
- Hug both knees into your chest.
- Keep your shoulders relaxed, and gently rock side to side if it feels good.
Hold: 2–3 minutes
Why it helps: Relieves pressure on the lumbar discs, calms the nervous system, and improves spinal alignment.
Full 12-Minute Flow (At a Glance)
| Pose | Duration | Purpose |
|---|---|---|
| Child’s Pose | 1 minute | Decompresses spine, calms nervous system |
| Cat-Cow Flow | 2 minutes | Mobilizes spine, boosts circulation |
| Downward Dog | 1 minute | Stretches back & legs, decompresses nerves |
| Seated Forward Fold | 2 minutes | Loosens hamstrings and spine |
| Knee-to-Chest Pose | 3–4 minutes | Relieves lumbar pressure, soothes pain |
Tip: Repeat the sequence twice daily morning and evening for best results.
Can Yoga Prevent Future Nerve Pain?
Absolutely. Here’s how:
| Yoga Benefit | Why It Matters |
|---|---|
| Improved posture | Less pressure on lumbar spine and nerves |
| Greater flexibility | Reduces tension that leads to compression |
| Stronger core | Provides better support for the spine |
| Better circulation | Promotes healing and reduces inflammation |
| Stress reduction | Lowers pain sensitivity by calming the brain |
Chronic nerve pain often becomes a cycle—pain leads to tension, which leads to more pain. Yoga helps break that loop.
You Can Ease Lower Back Nerve Pain Naturally
You don’t need an hour. You don’t need a studio. You just need 12 minutes, a quiet space, and a little patience.
These five yoga poses Child’s Pose, Cat-Cow, Downward Dog, Seated Forward Fold, and Knee-to-Chest—gently stretch the hips, spine, and hamstrings, right where nerve pain starts. With each breath and each pose, you’re giving your body space to heal and your nerves room to relax.
Practice it daily. Listen to your body. And most importantly—stay consistent. Relief is possible, and it can start today.
FAQs
Yes, yoga helps relieve pressure on the sciatic nerve by stretching tight muscles and improving spinal alignment.
Yes, but move gently and avoid pushing into pain. Start slowly, especially if you’re in acute discomfort.
Daily is ideal. Even just once a day can lead to noticeable relief within a week or two.
Absolutely. Use cushions under your hips or knees to stay comfortable and supported.
If you have severe or radiating pain, numbness, or weakness, consult a doctor before starting any new routine.
